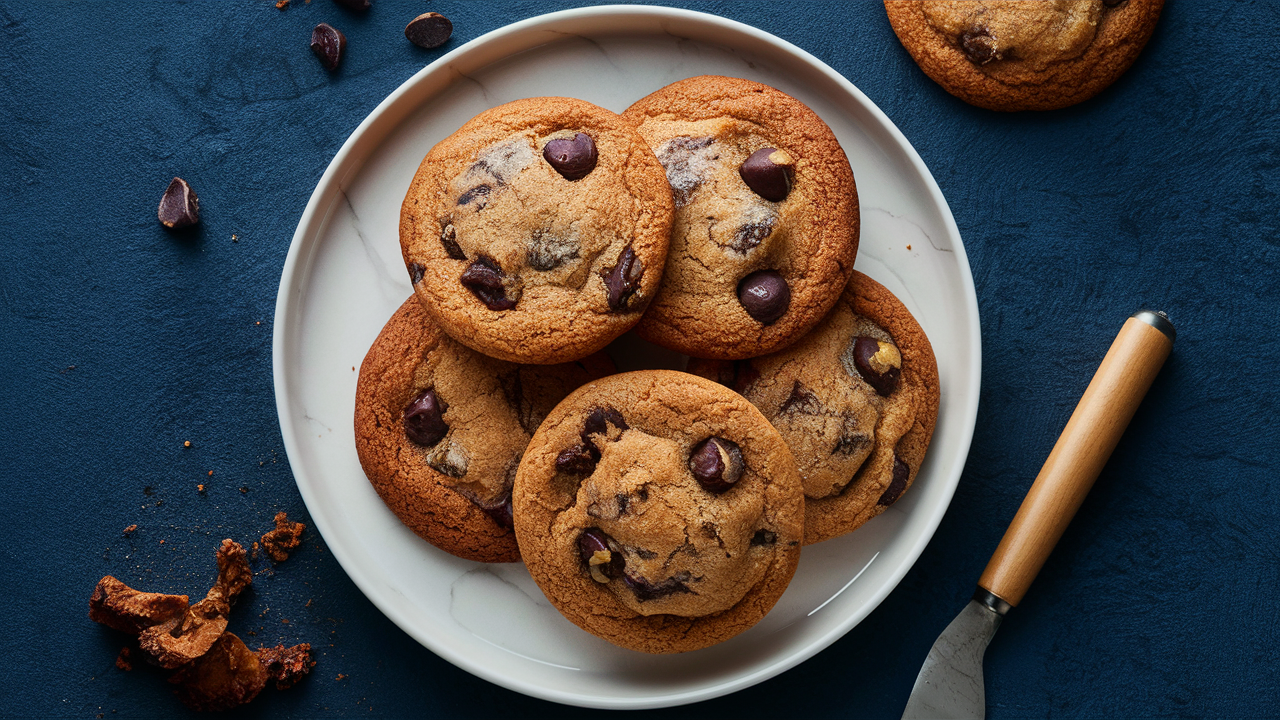
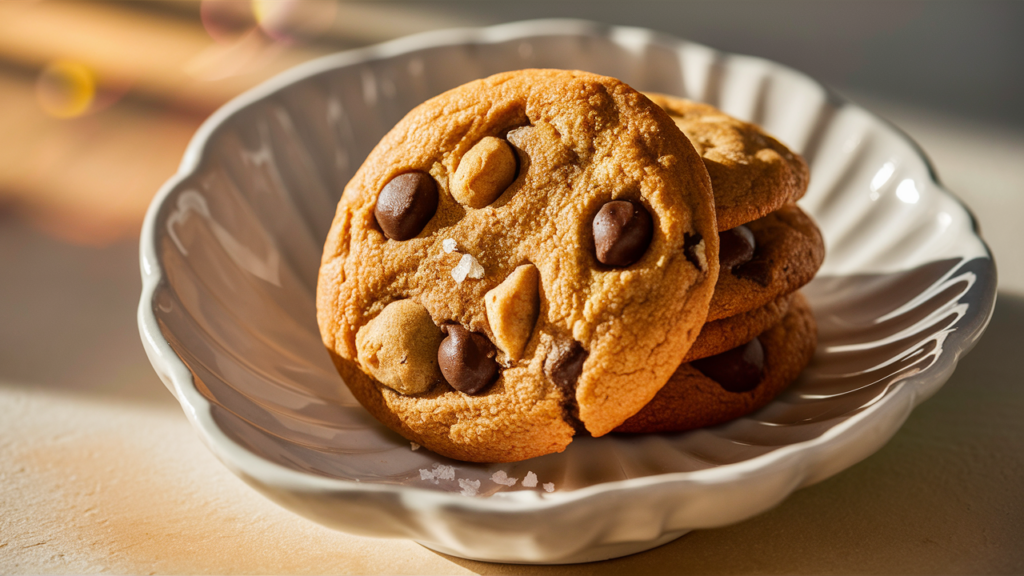
There’s something truly magical about biting into a warm, freshly baked chocolate chip cookie. It’s the perfect blend of crispy edges, a soft center, and gooey chocolate chips that melt in your mouth. Among the plethora of cookie recipes out there, the Nestle Chocolate Chip Cookie Recipe stands as a timeless classic, loved by generations. This guide will walk you through everything you need to know to create the perfect batch of these beloved cookies, ensuring your cookies come out perfect every time.
Revised Subheadings for the Nestle Chocolate Chip Cookie Recipe
Before diving into the recipe, it’s fascinating to take a step back in time and explore the origins of the Nestle chocolate chip cookie. This iconic recipe has a history that dates back to the 1930s. The cookie was invented by Ruth Wakefield, who owned the Toll House Inn in Whitman, Massachusetts. The original recipe was born out of a happy accident when Ruth added broken pieces of Nestle semi-sweet chocolate to her butter cookie dough, expecting the chocolate to melt and blend into the dough. Instead, the chocolate held its shape, creating the first batch of chocolate chip cookies. The recipe was an instant hit, and Ruth eventually sold the rights to use her recipe to Nestle in exchange for a lifetime supply of chocolate. Since then, the Nestle Toll House Chocolate Chip Cookie has become a staple in American kitchens.
Why the Nestle Chocolate Chip Cookie Recipe is a Classic
The Nestle Chocolate Chip Cookie Recipe has stood the test of time for several reasons:
- Simplicity: The recipe is straightforward and uses common ingredients that are likely already in your pantry.
- Flavor: The combination of butter, sugar, and chocolate creates a rich, satisfying flavor that appeals to all ages.
- Texture: With the right technique, you can achieve the perfect balance of crispy and chewy textures in each bite.
- Versatility: The recipe is highly adaptable, allowing you to customize it with different types of chocolate, nuts, or even a sprinkle of sea salt.
Ingredients for Nestle Chocolate Chip Cookies
To make a perfect batch of Nestle Chocolate Chip Cookies, gather the following ingredients:
- 2 ¼ cups all-purpose flour: Provides the structure for the cookies.
- 1 teaspoon baking soda: Helps the cookies rise.
- 1 teaspoon salt: Enhances the flavor of the cookies.
- 1 cup (2 sticks) unsalted butter, softened: Adds richness and moisture to the cookies.
- ¾ cup granulated sugar: Contributes to the crispiness of the cookies.
- ¾ cup packed brown sugar: Adds moisture and a slight molasses flavor, contributing to the chewiness.
- 1 teaspoon vanilla extract: Enhances the overall flavor.
- 2 large eggs: Binds the ingredients together and adds moisture.
- 2 cups (12-ounce package) Nestle Toll House semi-sweet chocolate morsels: The star of the show, providing the iconic chocolate flavor.
- 1 cup chopped nuts (optional): Adds a crunchy texture and nutty flavor (walnuts or pecans work well).
Step-by-Step Guide to Making Nestle Chocolate Chip Cookies
1. Preparing the Ingredients
Start by ensuring all your ingredients are at room temperature. This includes the butter and eggs. Room temperature ingredients mix more evenly, resulting in a better-textured cookie.
2. Mixing the Dry Ingredients
In a medium-sized bowl, whisk together the flour, baking soda, and salt. This step ensures that the baking soda and salt are evenly distributed throughout the flour, which is crucial for even rising and flavor.
3. Creaming the Butter and Sugars
In a large mixing bowl, using an electric mixer, cream together the softened butter, granulated sugar, brown sugar, and vanilla extract. This step is critical because it incorporates air into the dough, which contributes to the cookie’s light texture. Continue to beat the mixture until it is light and fluffy, about 2-3 minutes.
4. Adding the Eggs
Add the eggs one at a time, beating well after each addition. The eggs should be fully incorporated into the mixture, resulting in a smooth and creamy batter. Eggs add structure and moisture to the cookies, helping them hold their shape and providing that chewy texture.
5. Combining the Wet and Dry Ingredients
Gradually add the flour mixture to the butter mixture, mixing on low speed just until combined. Avoid overmixing, as this can lead to tough cookies. You want to mix just enough to ensure there are no streaks of flour remaining.
6. Adding the Chocolate Chips (and Nuts, if using)
Using a spatula or wooden spoon, gently fold in the chocolate chips and nuts (if using). Make sure the chips are evenly distributed throughout the dough, so every cookie has a generous amount of chocolate.
7. Chilling the Dough (Optional but Recommended)
For the best results, chill the dough in the refrigerator for at least 30 minutes to an hour. Chilling the dough helps prevent the cookies from spreading too much during baking and enhances the flavor. If you’re short on time, you can skip this step, but for the ultimate cookie experience, it’s worth the wait.
8. Prepping the Baking Sheets
Preheat your oven to 375°F (190°C). Line your baking sheets with parchment paper or silicone baking mats. This prevents the cookies from sticking and ensures even baking.
9. Shaping the Cookies
Using a cookie scoop or a spoon, drop rounded tablespoons of dough onto the prepared baking sheets, spacing them about 2 inches apart. For larger cookies, use about 2 tablespoons of dough per cookie. Gently flatten the tops of the dough balls with your fingers or the back of a spoon.
10. Baking the Cookies
Bake the cookies in the preheated oven for 9-11 minutes, or until the edges are golden brown, and the centers are set but still soft. Remember, the cookies will continue to cook as they cool on the baking sheet, so it’s better to slightly underbake them than overbake.
11. Cooling the Cookies
Allow the cookies to cool on the baking sheet for about 2 minutes before transferring them to a wire rack to cool completely. This short cooling period on the baking sheet allows the cookies to set without becoming too crisp.
Tips for the Perfect Nestle Chocolate Chip Cookies
1. Measure Your Ingredients Accurately
Baking is a science, and precise measurements are key to success. Use a kitchen scale for the most accurate results, especially with flour, as too much flour can lead to dry, crumbly cookies.
2. Don’t Overmix the Dough
Overmixing the dough can lead to the development of too much gluten, resulting in tough cookies. Mix just until the ingredients are combined.
3. Use Quality Ingredients
Using high-quality ingredients, especially butter and chocolate, makes a noticeable difference in the flavor and texture of your cookies. Opt for real butter and Nestle Toll House semi-sweet chocolate morsels for the best results.
4. Chill the Dough
Chilling the dough not only prevents spreading but also allows the flavors to meld together, resulting in a richer, more complex taste.
5. Experiment with Baking Times
The baking time can vary depending on your oven and the size of your cookies. If you prefer softer cookies, aim for the lower end of the baking time range. For crispier cookies, bake a minute or two longer.
Variations of the Nestle Chocolate Chip Cookie Recipe
One of the reasons the Nestle Chocolate Chip Cookie Recipe is so beloved is its versatility. Here are a few ways to put your own spin on the classic recipe:
1. Double Chocolate Chip Cookies
For chocolate lovers, try adding ¼ cup of unsweetened cocoa powder to the dry ingredients to create double chocolate chip cookies. You can also mix in white chocolate chips for contrast.
2. Oatmeal Chocolate Chip Cookies
Add 1 cup of old-fashioned oats to the dough for a heartier cookie with a chewy texture. This variation pairs wonderfully with a glass of cold milk.
3. Sea Salt Chocolate Chip Cookies
Before baking, sprinkle a pinch of flaky sea salt on top of each cookie. The salt enhances the sweetness of the cookies and adds a delightful contrast.
4. Peanut Butter Chocolate Chip Cookies
Replace half of the butter with creamy peanut butter for a rich, nutty flavor. Peanut butter and chocolate are a match made in heaven!
5. Coconut Chocolate Chip Cookies
Mix in ½ cup of shredded coconut along with the chocolate chips for a tropical twist. Coconut adds a chewy texture and a subtle sweetness to the cookies.
Storing and Freezing Nestle Chocolate Chip Cookies
Storing Baked Cookies
Once your cookies have cooled completely, store them in an airtight container at room temperature. They’ll stay fresh for up to a week, though they rarely last that long!
Freezing Baked Cookies
If you want to save some cookies for later, place the cooled cookies in a single layer on a baking sheet and freeze until solid. Transfer the frozen cookies to a resealable freezer bag or airtight container and store for up to 3 months. To enjoy, thaw the cookies at room temperature or warm them in the oven for a few minutes.
Freezing Cookie Dough
For freshly baked cookies anytime, freeze the cookie dough instead of the baked cookies. After shaping the dough into balls, place them on a baking sheet and freeze until solid. Transfer the frozen dough balls to a resealable freezer bag and store them in the freezer for up to 3 months. When ready to bake, place the frozen dough on a baking sheet and bake as directed, adding an extra 1-2 minutes to the baking time.
Nutritional Information for Nestle Chocolate Chip Cookies
While chocolate chip cookies are undeniably delicious, it’s important to be mindful of their nutritional content, especially if you’re enjoying them regularly. Here’s a general breakdown of the nutritional content for one cookie (assuming a batch of 36 cookies):
- Calories: 140
- Total Fat: 7g
- Saturated Fat: 4g
- Cholesterol: 15mg
- Sodium: 85mg
- Total Carbohydrate: 19g
- Dietary Fiber: 1g
- Sugars: 11g
- Protein: 2g
These values may vary slightly depending on the specific ingredients and portion sizes you use.
Frequently Asked Questions (FAQs)
1. Can I Make This Recipe Gluten-Free?
Yes, you can make gluten-free Nestle Chocolate Chip Cookies by substituting the all-purpose flour with a gluten-free flour blend. Be sure to use a blend that includes xanthan gum or add it separately to help bind the cookies.
2. Can I Use Margarine Instead of Butter?
While you can use margarine instead of butter, the cookies may not have the same rich flavor or texture. Butter provides a superior taste and helps create those crispy edges and chewy centers.
3. How Do I Prevent My Cookies from Spreading Too Much?
To prevent excessive spreading, make sure to chill the dough before baking. You can also try adding a bit more flour if your dough seems too soft. Baking on a silicone mat or parchment paper can also help control spreading.
4. Can I Use a Different Type of Chocolate?
Absolutely! Feel free to experiment with different types of chocolate, such as milk chocolate, dark chocolate, or even white chocolate chips. You can also mix different types of chocolate for a unique flavor combination.
5. What’s the Best Way to Soften Butter Quickly?
If you forgot to take your butter out of the fridge ahead of time, you can soften it quickly by cutting it into small pieces and letting it sit at room temperature for about 15 minutes. You can also gently microwave the butter in short 5-second bursts, being careful not to melt it.
Conclusion
The Nestle Chocolate Chip Cookie Recipe is a true classic, offering a perfect balance of flavors and textures that have delighted cookie lovers for decades. Whether you stick to the original recipe or add your own creative twists, these cookies are sure to be a hit. With the tips and variations provided, you’ll be able to make the perfect batch of cookies every time. Happy baking!


